How to scan a document to PDF
A phone camera and a sheet of paper are all this needs. The scanner finds the edges of the page, straightens it, and turns a stack of captures into a single PDF — without the photos ever leaving your device.
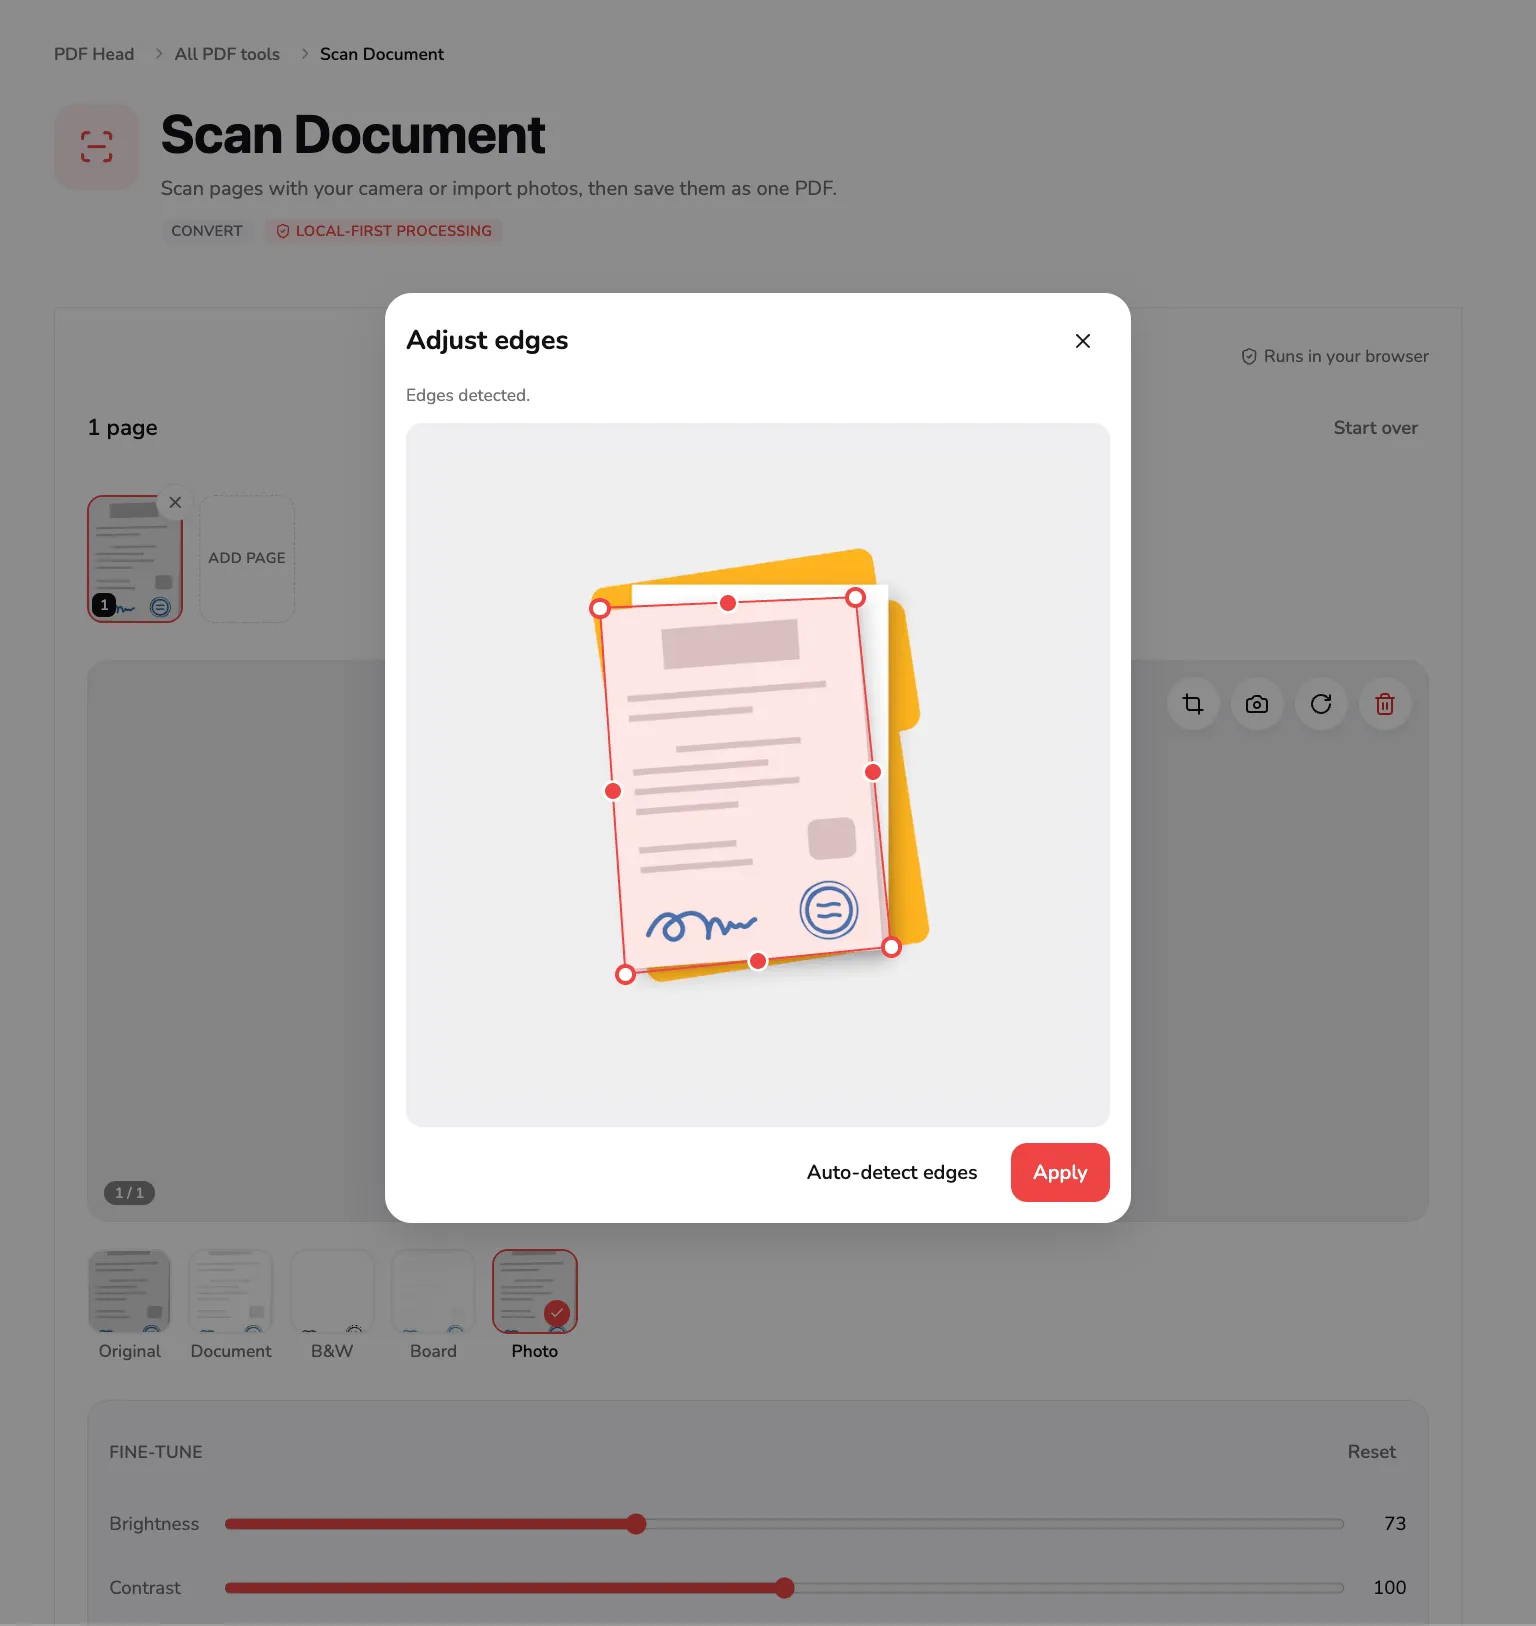
Tools used in this guide
What the scanner actually does
Two jobs, and it is worth knowing which is which before you start.
The first is geometry. A photograph of a page is taken at an angle, so the paper is a trapezoid with a desk around it. The scanner finds the four corners, cuts away everything outside them, and warps what is left back into a rectangle — the difference between a photo of a document and a scan of one.
The second is tone. A camera sees grey paper and grey shadows. The looks in step 3 push the paper towards white and the ink towards black, so the result reads like a document rather than a snapshot.
What it does not do is read the text. There is no OCR anywhere in PDF Head, so the pages in the finished PDF are pictures. You cannot select a sentence in them, search them, or copy a figure out of them. If that is what you need, this is the wrong tool and no setting here will change it.
Everything happens in this browser tab. The photos are read locally and never uploaded, so a scanned contract stays on your machine. No account is needed, and nothing is stamped onto the output.
The screenshots below come from the tool itself. The blue numbers belong to this guide and match the instruction beside each picture. Select any screenshot to open it at full size.
1. Start a scan
Open Scan Document. There are two doors, and they lead to the same place.
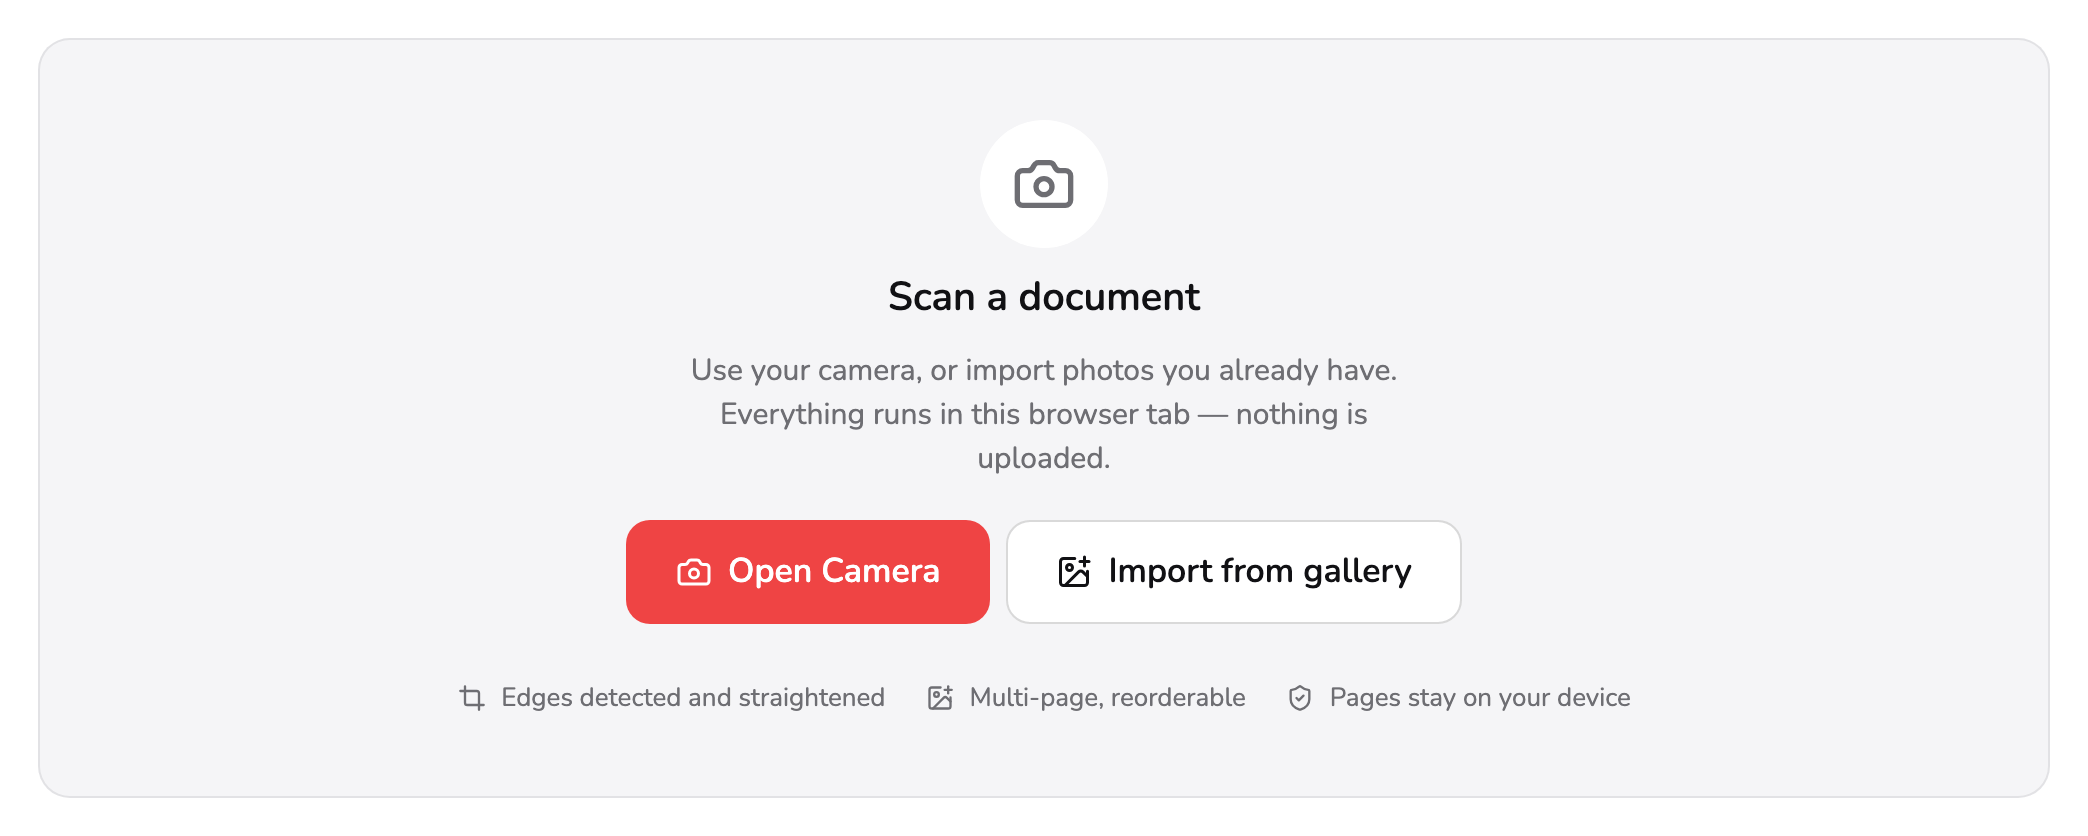
- Open Camera. Uses the device camera. On a phone this is the whole point; on a desktop without one, take the other door.
- Import from gallery. Photos you have already taken. Same treatment as a live capture, and the only route on a machine with no camera.
Open Camera at marker 1 drives the device camera — on a phone, this is the whole point of the tool. Import from gallery at marker 2 takes photos you have already taken, and it is the only route on a desktop with no camera. Everything after this step is identical either way; these screenshots were made by importing.
A word on the photograph itself, because it decides how good the scan can be: lay the page flat, get the whole sheet in frame with a little margin, and keep your own shadow off it. The scanner can straighten a page shot at an angle. It cannot recover a corner that was never in the picture.
2. Check the edges
The scanner looks for the page as soon as it has the image, and shows you what it found.
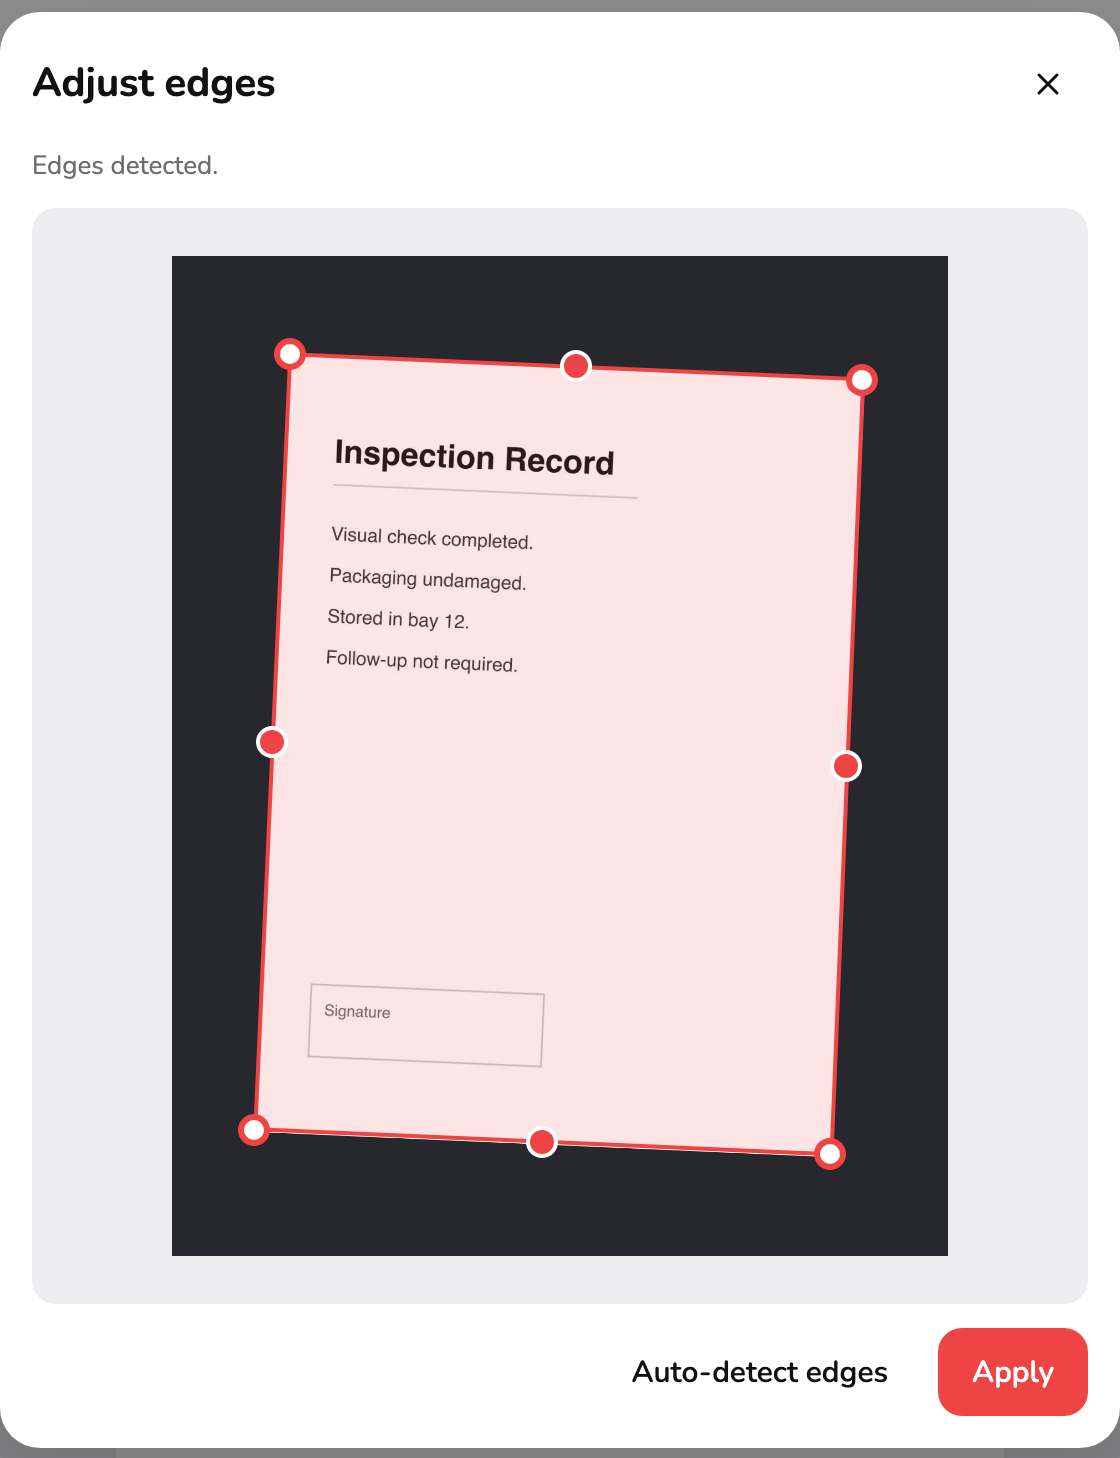
- Corner handle. Drag it to the real corner of the paper. A side handle moves that whole edge, and arrow keys nudge.
- Edges detected. The scanner found the page on its own. When it gets it right, Apply is all that is left to do.
Marker 2 is the detection message. When it says the edges were found and the outline sits on the paper, there is nothing to do but Apply.
When it is off — a patterned desk, a page that runs off the frame, poor contrast between paper and surface — drag the handles. Marker 1 is a corner; the handles halfway along each side move that whole edge at once. Arrow keys nudge a handle by one percent of the image, and Shift moves it five times that, which is easier than dragging for a final adjustment. Auto-detect edges runs the detection again from scratch: it either finds the page or falls back to the whole frame, so it is a fresh start and not an undo.
3. Pick a look
The look is the tonal treatment, applied to the page you have selected.
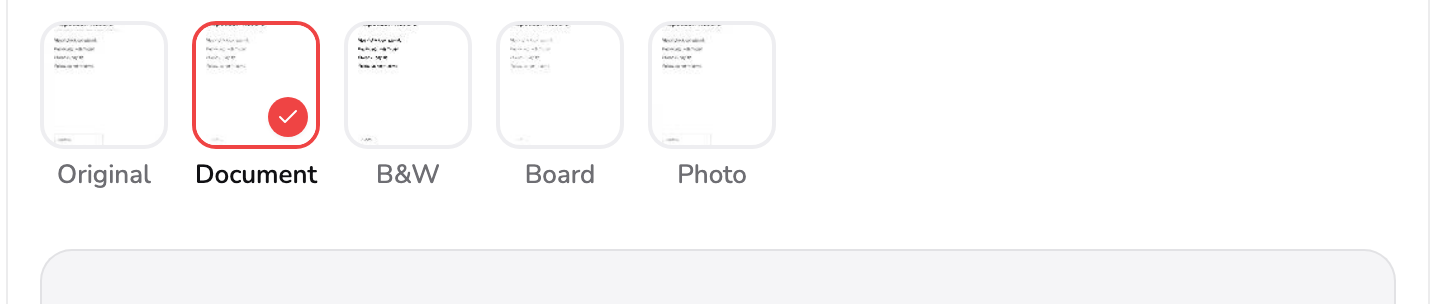
- Document. Lifts the paper to white and deepens the ink. The default for anything printed.
- B&W. Pure black and white, no greys. Smallest file, and unforgiving of a shadow across the page.
- Photo. Leaves the colours alone. For a page where the picture matters more than the text.
Document at marker 1 is the one to reach for by default: it lifts the paper to white and deepens the ink, which is what makes a photo read as a scan. B&W at marker 2 goes all the way to pure black and white with no greys in between — the smallest file of the five, and the least forgiving, because a shadow that Document would have absorbed becomes a black smear. Photo at marker 3 leaves the colours alone, for a page where the image matters more than the text. Original and Board sit alongside them, for no treatment at all and for a whiteboard respectively.
4. Fine-tune if you need to
Most pages are done at step 3. This is for the ones that are not.
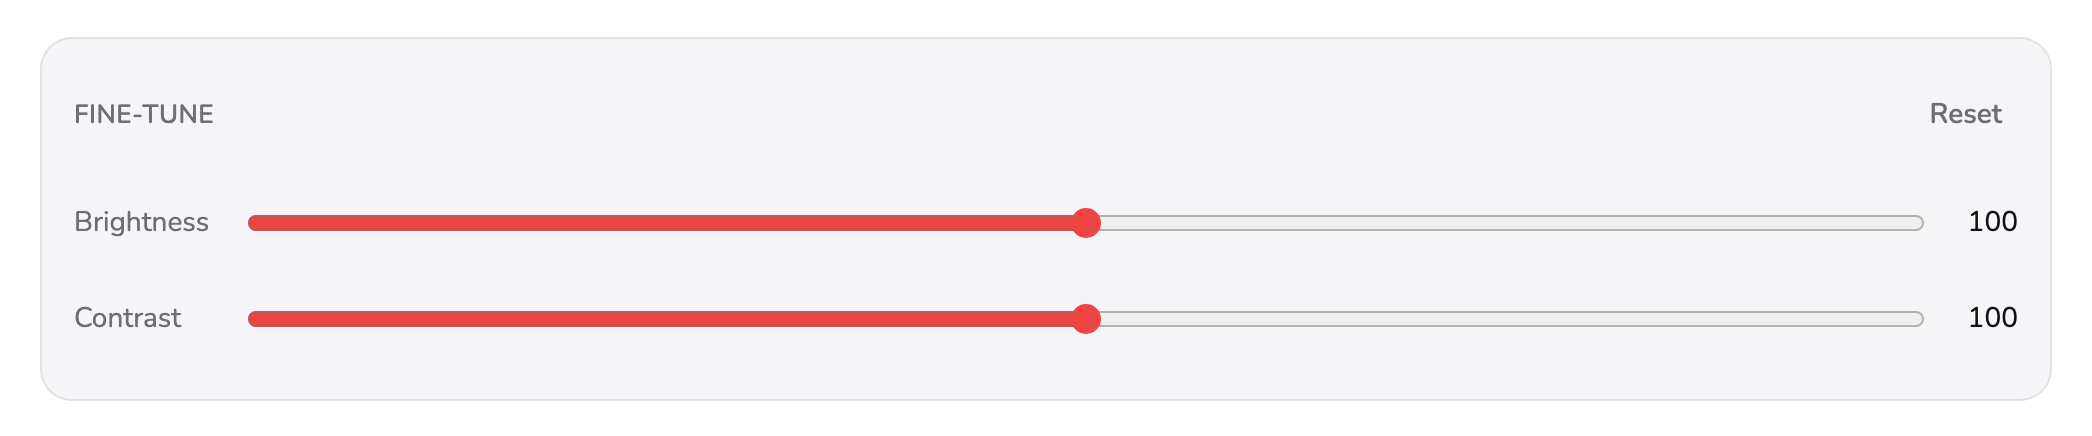
- Brightness. Raise it when a page came out dim, lower it when the paper is blown out.
- Contrast. Separates ink from paper. Too much and thin strokes start to break up.
- Reset. Both sliders back to where they started. It does not undo the look or the edges.
Brightness at marker 1 is the fix for a page that came out dim, or one where the paper is so blown out that thin text has disappeared into it. Contrast at marker 2 separates ink from paper — useful on a faint photocopy, though pushed too far it starts to break up thin strokes and fine print. Reset at marker 3 puts both back where they started, and leaves your look and your edges alone.
5. Reorder and manage the pages
Every capture becomes a page in the strip, in the order it arrived.
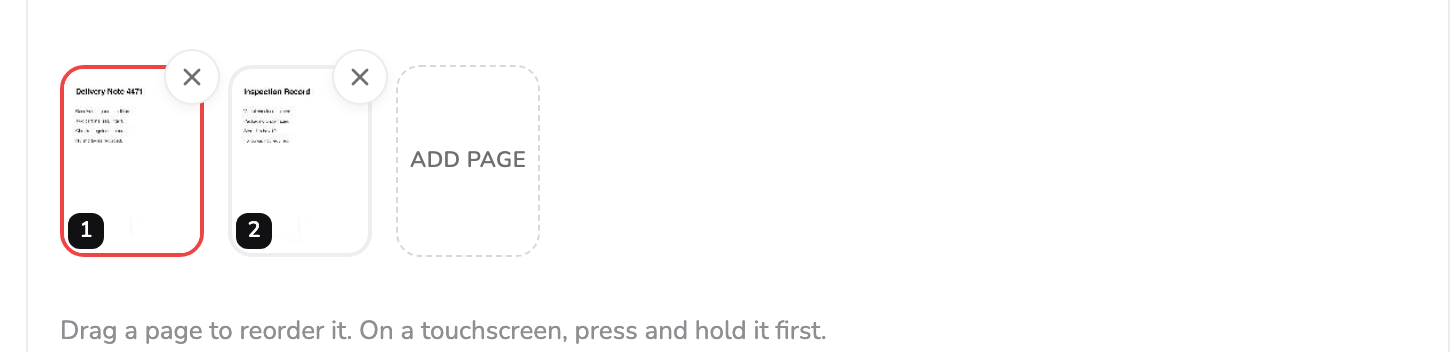
- A scanned page. Tap to select it, drag to reorder. Press and hold first on a touchscreen.
- Add page. Another capture or another import, appended to the end of the stack.
Tap a page at marker 1 to select it — the preview above it changes, and so do the look and fine-tune controls, which act on the selected page. Drag a page to move it; on a touchscreen, press and hold it first. The preview toolbar carries the per-page actions: adjust the edges again, retake, rotate, and delete.
Add page at marker 2 is the last tile in the strip, and takes another capture or another import. New pages join the end, and you can drag them into place from there.
Delete the wrong page and a message appears with an Undo beside it. Take it while it is there; once it goes, that capture has to be taken again.
6. Choose a page size and save

- Page size. Match scan keeps each page the shape you captured. A4 and Letter fit them to a standard sheet.
- Save as PDF. Writes every page, in the order shown, as one PDF on your device.
Marker 1 is the page size. Match scan keeps each page the shape you captured, which is the honest choice when the pages are not all the same size — a receipt and a letter stay a receipt and a letter. A4 and Letter fit every page onto a standard sheet instead, which is what you want if the PDF is going to be printed or filed against a template.
Save as PDF at marker 2 writes every page, in the order the strip shows, as one file on your device.
Photos you already have
The import path is not a lesser version of the camera path. A photo taken last week gets the same edge detection, the same looks and the same fine-tuning as one taken a second ago, and you can mix the two in one document.
It is also the route for anything that is not a live capture: a screenshot of a form, a photo somebody sent you, a picture of a whiteboard. If your images are already square and cropped — exported artwork, screenshots — then the scanner’s geometry has nothing to do, and Image to PDF is the more direct tool. How to convert images to a PDF covers that path, including page size and fit.
What you get, and what you don’t
| You want | This tool | Somewhere else |
|---|---|---|
| Paper turned into a PDF | Yes, this is the job | — |
| Selectable or searchable text | No OCR anywhere in PDF Head | A tool with OCR |
| Several pages in one file | Yes, reorderable before saving | — |
| A smaller file afterwards | Pick B&W before saving | Not Compress PDF — see below |
The pages are images, so the finished PDF is an image-heavy one. That has a consequence worth planning for: Compress PDF repacks a file’s structure and has no image downsampling and no settings at all, so on a scan it can come back the same size or larger. How to compress a PDF explains exactly what it can and cannot reach. The lever that actually moves the size here is the look — B&W produces a far smaller file than Photo — and choosing it before you save is easier than trying to shrink the PDF afterwards.
Open the tool
Paper, a camera or a folder of photos: Scan Document. Images that are already cropped and square: Image to PDF.
Both run entirely inside this browser tab, with no upload step to opt out of, no watermark on the output, and no account. The free plan covers three exports per calendar month.
Common questions
The edges came out wrong on one page. Can I fix it after importing?
Yes. Select that page in the strip and use Adjust edges on the preview toolbar — the same dialog reopens for that page alone, with the outline where the scanner left it. Nothing you did to the other pages is affected.
Can I add more pages once I have started?
Yes. The last tile in the page strip is Add page, and it takes either a fresh capture or another import. New pages join the end of the stack, and you can drag them anywhere from there.
What does Reset in Fine-tune undo?
Only brightness and contrast, back to where they started. The look you picked and the edges you adjusted are left alone, so resetting is safe when a slider has gone too far.
I deleted a page by mistake.
A message appears with an Undo next to it, which puts the page back exactly where it was. Once that message goes, the page is gone and the capture has to be retaken or re-imported.